All classes in grades 4 through 6th work on this simple still life assignment. Each year the students get older, you can see improvement in their work.
The goal of this assignment is to draw the objects in correct proportion in relation to each other, then shade them as accurately as possible to make them look 3-D.
Here are some examples of the best of the student work!
Showing posts with label 4th. Show all posts
Showing posts with label 4th. Show all posts
Tuesday, April 24, 2012
Tuesday, January 31, 2012
3rd & 4th grade - 3-D Forms
We will be spending this week in art class working on drawing in 3-D.
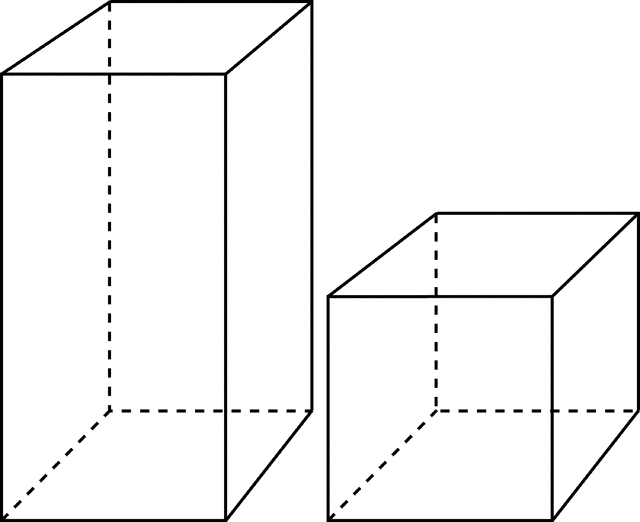
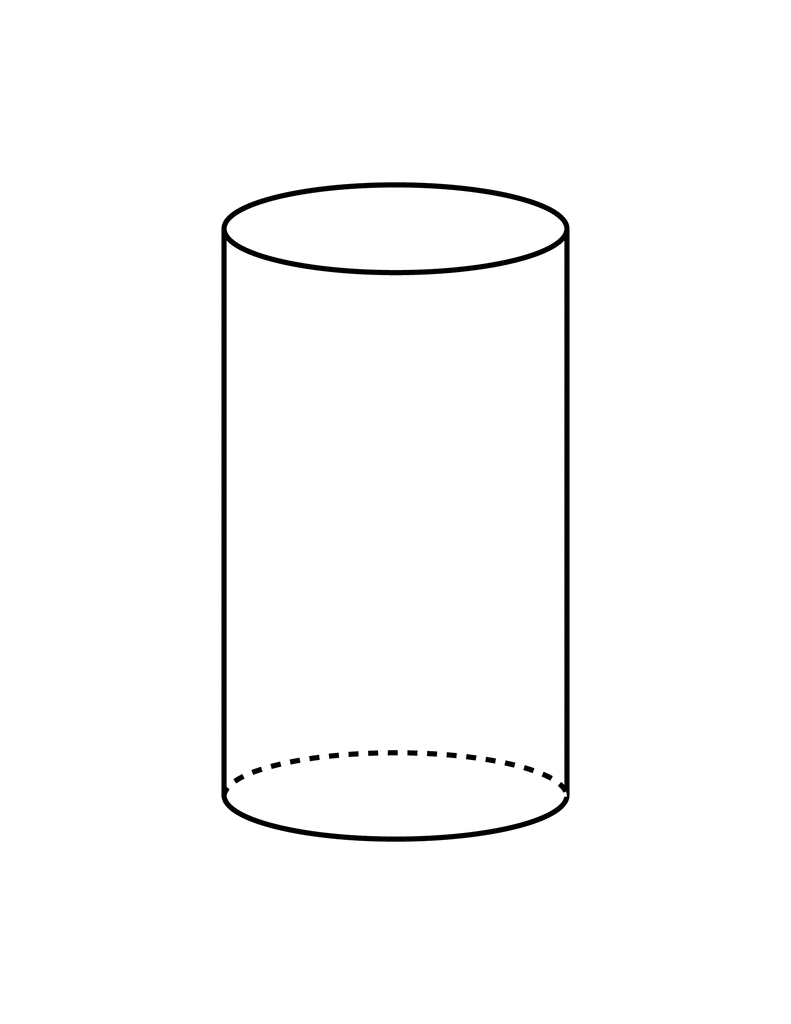
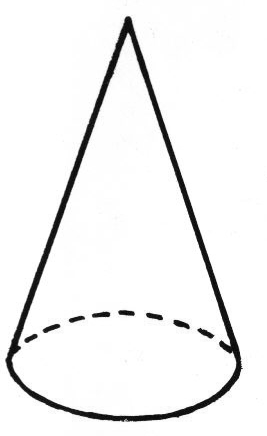
Last week, we went over the main Geometric Forms very quickly. Today we will go over them again more slowly so that everyone will have a chance to practice, practice, practice!
The forms we will mostly be working on are...
Last week, we went over the main Geometric Forms very quickly. Today we will go over them again more slowly so that everyone will have a chance to practice, practice, practice!
The forms we will mostly be working on are...
Labels:
3rd,
4th,
Teacher - Miss Reid,
Teacher - Mrs. Card,
Teacher - Ms. Dietz
Tuesday, December 13, 2011
Still Life Project
Now that the basic drawing lessons are over, it is time to show off what you've learned! This is the simple still life that is set up in the art room for you. Your assignment, to draw and shade it from your perspective! Everyone's paper will look different, because everyone is looking at it from a different angle. As you work, make sure to look for details (like the reflections in the silver cylinder).
This is my example that is being created on the board as the class works!
This is my example that is being created on the board as the class works!
Friday, December 9, 2011
proportion
Proportion means making sure each of the parts are the right size to be correct for the whole. The best way to describe it is to imagine you are drawing a picture of a person. If you were drawing a person, the arms should not be too long or too short. It means making sure the head is not too big or too small for the body. That sort of thing.
In class, each student selected an object out of the still life bins and practiced drawing in proportion. They practiced doing basic comparison measuring to try to get the sizes right. Comparison measuring means that you 'measure' the short side with your fingers, and compare that to the other sides. If the short side counts as 'one', and the long side equals 3 of that 'one', you know to make it 3 times longer than the short side.
To work on this at home, select simple objects in the kitchen to draw. A pot or pan works great!
Thursday, December 8, 2011
Shading a Ball reference photos
Here are some shots of the ball that the students looked at while learning to shade. As you can see, the angle of the light really affects how the shading needs to be done! If you want more practice, you can look at these photos and sketch in the shapes you see created by the effect of light and shadow.
Tuesday, December 6, 2011
4th grade - Shading a ball
We started a shading lesson today. Shading involves the Element of VALUE. We also use the Element of SHAPE while working out where the lights and darks in the picture are placed.
I placed a playground ball on the center table in class and illuminated it with a lamp. We talked about using the Element of SHAPE to lightly sketch in the shapes formed by the shadow on the table, the shadows on the ball, and even the dull light bouncing up on the back side of the ball from the table.
Students had an opportunity to walk around the room and see how the shadow shapes change on the ball depending on the angle you are viewing it.
Saturday, October 15, 2011
4th grade - Guided Apple Assignment
The fourth grade classes followed along on a guided drawing lesson. In this type of lesson, everyone is drawing the same thing, following the teacher's instructions. In this lesson, the students created an apple. The goal of the lesson was to strengthen the students' shading skills, while learning that they can shade in color! Here are some student examples of a shaded apple...
4th grade - Vase/Face
The fourth grade classes explored the concept of positive/negative space by creating their own version of the famous optical illusion, vase/face.
Positive space is the shape or object that you notice first in a picture or drawing. Let's say you are drawing a chair. The chair itself creates the positive shape on your paper.
Negative space is made up of the shapes around the positive spaces. In the example of drawing a chair, it is the shapes of the spaces AROUND the chair. This includes any shapes made by holes in the chair. Artists can use these negative shapes to help them form an accurate picture of the chair itself. Being able to switch back and forth between seeing positive and negative space can help your artistic skills a lot.
Here are some student examples of vase/face!
Subscribe to:
Posts (Atom)


+dig+pics+015.jpg)