Friday, October 22, 2010

Third Grade Clay Cups

Third grade classes used the pinch pot method to build clay cups, which they then glazed the following week.  The cups have now been sent home and should be treasured keepsakes for many years to come!


Abecedarium

When you play around with the alphabet and turn the letters into artwork, that is called an ABECEDARIUM.  The first grade classes spent this week doing just that.  It is a fun way to think about the alphabet, but I reminded all of them that they still need to write their alphabet letters normally when they are writing their spelling and stories!

Thursday, October 21, 2010

3rd grade clay cups coming home!


Today the clay cups are coming home with the third grade students! Here is some advice for care and handling;

1. Keep it out of reach of small siblings!
2. Hand wash only with soap and water... do not use the dishwasher!
3. It should not go in the oven or freezer.
4. NEVER. EVER PUT IT IN THE MICROWAVE!!!
5. Enjoy!

Parents, all of the glazes we used are rated as food safe. You can let your child drink out of the cup.
Posted by Picasa

Monday, October 18, 2010

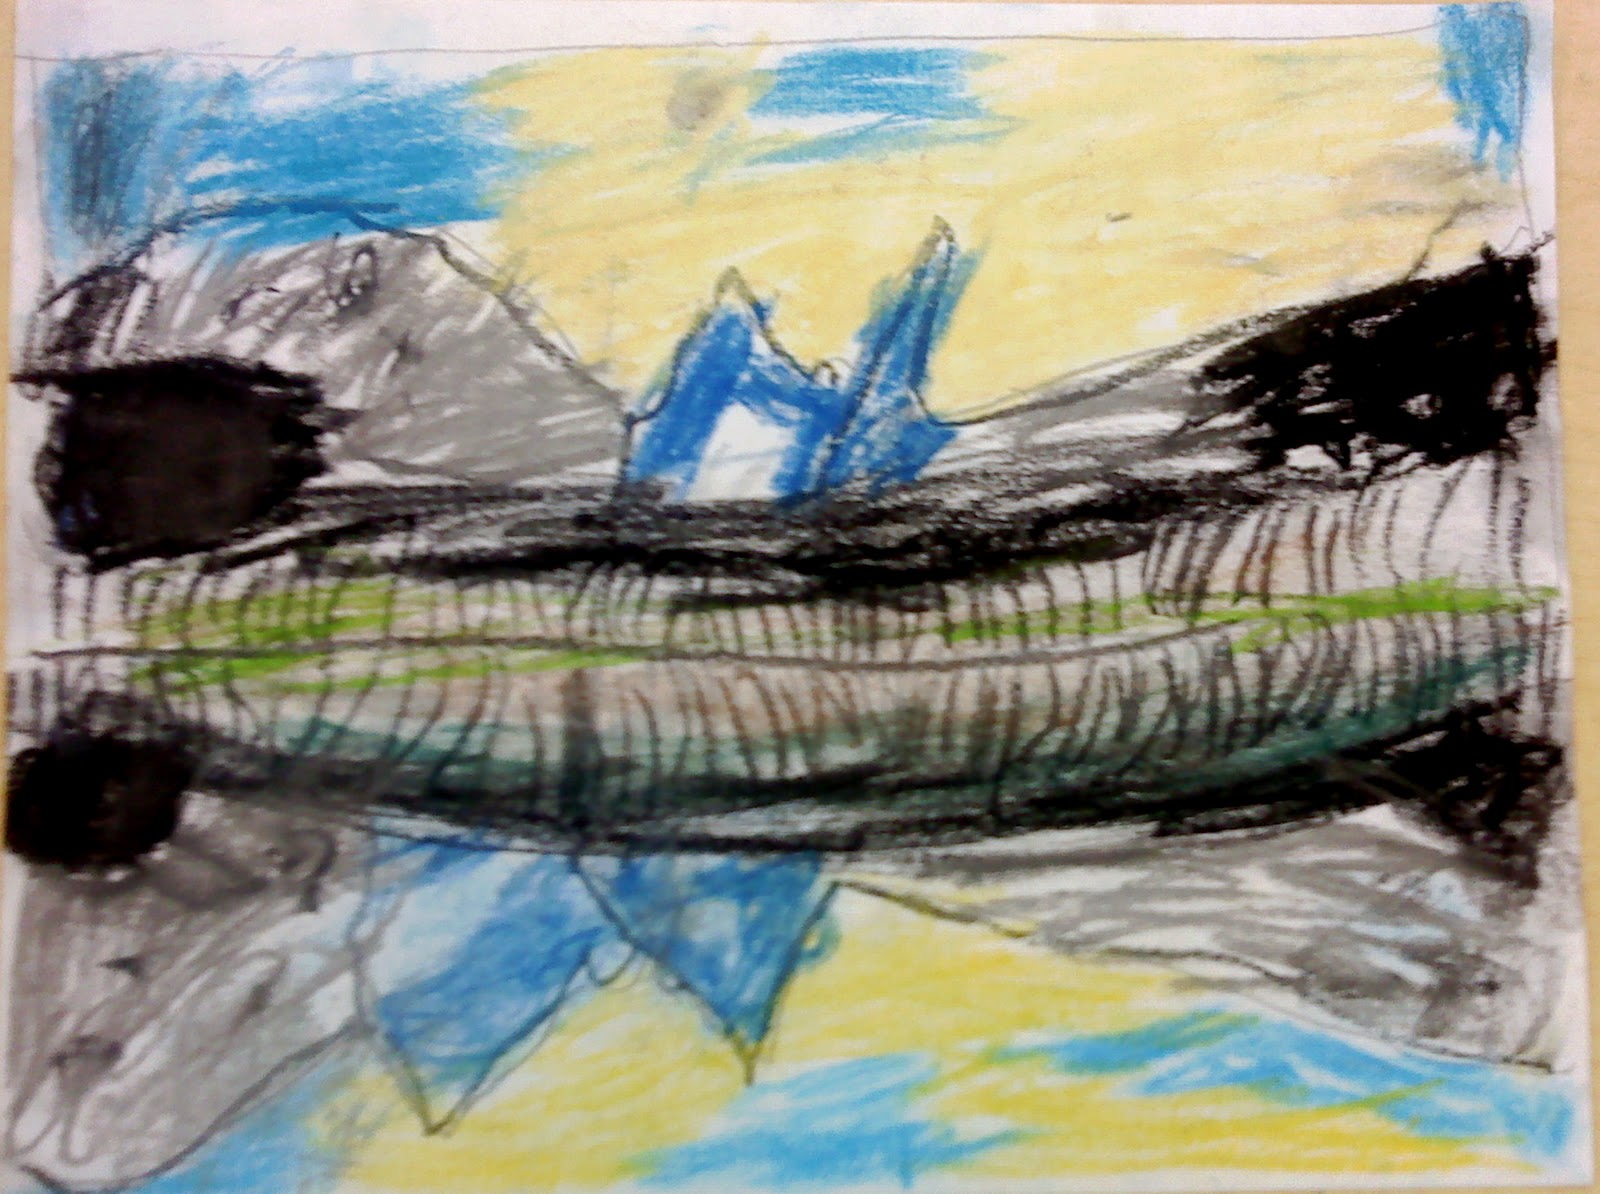
Second Grade Pastel Landscapes

The second grade classes recently finished a landscape assignment. 

Each student selected a reference photo to work with before drawing out their landscape on a white paper.  Still using the photo as a reference, the students used pastels (colorful chalk) to 'paint' their landscape.

We talked about tips and tricks that artists use to prevent the artwork from being smeared while it is being worked on and the students self evaluated themselves each day on how they did at keeping the mess to a minimum.  The tips and tricks are...

  1. One hand is the 'dirty' hand that holds the pastel and paints with it.  The other hand stays clean to hold onto the artwork.
  2. Start at the top of the artwork and work your way down so that you don't accidentally drag your hand or sleeve through already finished parts of the artwork.
  3. Keep your painting hand floating in the air.  Never let it rest on the paper.  It is best to stand up while you work to make it easier for your hand to float.
  4. If there is too much chalk dust on your paper, tap it gently onto the newspapers.  DON'T blow on it!  Your picture will get lighter, and some people are allergic to chalk dust (like ME!)
  5. Always use newspapers to protect the table, and wear a smock to protect your clothes!

Here are some examples of second grade pastel landscapes...


Truly beautiful landscapes!

First Grade Self Portraits

Last week, the first grade classes explored feelings and how they show up on a person's face.  We talked about how each part of the face will change to show a feeling.  For instance, when a person is scared, the eyes will pop open, the mouth (with two lips!) will open wide, and the eyebrows will go up higher on the forehead.

We also went over all the parts on a head (two eyes with pupils, a nose with two nostrils, a mouth with two lips, eyebrows, ears, hair) and where they should be placed on the picture.  For instance, the eyes go much further down than most children tend to draw them.  This leaves room for a forehead and hair ON the head, not above it.

After practicing this, the students were given a paper with a blank head shape already drawn on it.  While looking into a mirror, each student chose a feeling (happy, sad, scared, or angry) to put on their face, and then drew a self portrait, making sure to include all the features of their head/face.  Before coloring, however, I asked the students to include one more thing, a BACKGROUND (drawings of stuff behind them in the self portrait) that explains WHY they are feeling the way they do in the picture. 

Here are some examples of what the students made...


Wednesday, September 29, 2010

1st grade - Starry Night


Today we looked at an artwork by Vincent Van Gogh called The Starry Night and learned a little about Mr. Van Gogh's life. Make sure you tell your mom and dad all about what you learned! Moms and Dads, we learned about his life, not his death.

This is a quick reminder to try to stay up until just after dark tonight (it gets dark at about 8:00 p.m. right now) and go outside with your parents to look at your night sky! Look carefully at all the details you see because tomorrow we will be drawing our own night skies! Once the drawing is done, we will be using oil pastels to paint it in Mr. van Gogh's painting style!

Tuesday, September 7, 2010

1st grade - basic color theory


This week, the first grade will be introduced to their first lessons on color theory. We will be covering Primary colors, Secondary colors, and the Color Wheel.

Primary colors are red, yellow, and blue. They are called Primary because they are the first colors; the most powerful colors. When combined in millions of different ways, they can make all the other colors that exist! Also, no other colors can combine to make them!

Secondary colors come second. They are created when two Primary colors are mixed in equal amounts. It is that equal amounts thing that gives them their special standing as Secondary colors. The Secondary colors are orange, green, and violet. Violet can also be called purple.

A Color Wheel is the way that artists organize the colors to show how they are related to each other.

2nd grade - the 12 color wheel


Last year, we learned that PRIMARY colors can be combined equally to make SECONDARY colors.

This year, we added TERTIARY as a vocabulary word.

TERTIARY = THIRD

There is a third layer of colors that is made when you combine a primary color equally with a secondary color that is next to it on the color wheel. Remember, the secondary color already has 2 layers in it, so when you add a primary color to it, you get 3 layers! When completed, a Tertiary color wheel has 12 colors.

In the picture above,
1=Primary
2=Secondary
3=Tertiary

Monday, August 30, 2010

My Greatest Treasure


Our first assignment this year is to create a picture of 'Your Greatest Treasure'.  Each student was encouraged to think of the one thing that is the most important thing in the world to them, the thing they cannot live without, and to make a picture of it.

My Greatest Treasure is my family, so I showed the students paintings I have made of my family members.

Artists create works of art that have personal significance to them.  An artist will not make art unless it is important or meaningful to them.  This is our first lesson as artists this year.  No matter what I assign, I want the students to look for ways to adapt the assignment so that they are creating something that is meaningful to them (and still shows that they are learning the concepts taught)!

Friday, August 27, 2010

Portfolios and name tags

Today we built our portfolios and name tags. The portfolio will be used to safely store artwork in the classroom. The name tag is initially to help me remember student names. Later it will be kept stored in the portfolio in case there is a substitute.

Thursday, August 26, 2010

Art Rules!

Here are the classroom rules...
  1. WHISPER VOICES when you want to talk with your friends during a working time.
  2. LISTENING BODIES when the whole class is listening to instructions.
  3. Follow the GOLDEN RULE!

This is what happens if you break a rule*...

  1. Everyone needs a REMINDER from time to time.
  2. If the reminder didn't work, you will be asked to MOVE to a new seat and you will LOSE BEHAVIOR POINTS.
  3. If you are still having a problem following the rules, you will be sent to THINK TIME.

* If you are caught doing something DANGEROUS (that could cause injury to yourself or someone else), you will be sent DIRECTLY TO THE PRINCIPAL and we will CALL HOME!

Remember, 'Every day is a new day, with no mistakes in it' (Anne of Green Gables). Yesterday's mistakes will not affect how I treat you today!

Wednesday, August 25, 2010

Welcome to a new school year!

Welcome back, Harvest Elementary students and parents!  I hope you have had a summer full of adventure and that you are ready to experience the adventures waiting for you here at school!

This term I am starting the year with some of my first, second, and third grade classes.  I am looking forward to making lots of messes with you, and hopefully we'll learn lots along the way, too!

Monday, June 21, 2010

Webelos Scout Art Pin information

Over the years, I have had many boys come to me asking for help in earning their art pin for Webelos scouts.  As part of the requirement, the scout is asked to interview an artist/art teacher to find out information about various art careers.  I have decided to place the interview information here, so any Webelos scout can know that this entry will count for an interview with me!  Good job earning the pin, and good luck with Boy Scouts!


ART CAREERS

  • Architect - a person who designs and draws plans, elevations, and cross-sections of buildings.  This is one of my personal favorites!  I love designing house plans!  I acted as the architect on my own house remodel.  A sub category of this one would be Landscape Architect - a person who designs the placement of objects, plants, and trees in a landscape.

  • Art Appraiser - a person who decides on the $ value of a piece of art.  

  • Art Conservator - a person who cares for and preserves artwork so it lasts a VERY long time.

  • Art Critic - a person who does for artwork the same job a movie critic does for movies.

  • Art Historian - a person who writes and keeps historical information on artwork and other historical facts that are an important part of the artworks story.

  • Artist - a person who creates art.  Duh!

  • Art Teacher - a person who teaches art.  Hey!  That's me!

  • Cinematographer - a movie maker.

  • Designer - a Fashion designer creates new clothing fashions.  A Graphic designer creates graphics for movies, games, commercials, magazines, billboards... etc.

  • Film Animator - a person who creates cartoon animation.

  • Gallery Operator - a person who owns and operates a gallery.  A gallery is a place to show and sell artwork.  Sometimes the gallery is owned by the artist (like the Kinkade galleries), and other times the gallery is owned by someone who takes artwork on commission (sells it for a % of the sale), or rents space to artists (sells it for a fee).

  • Museum Curator - the person in charge of collecting and displaying artworks in a museum.

  • Jeweler - a person who makes jewelry.

  • Photographer - a person who takes photographs.  This person might work for a newspaper or magazine (like National Geographic), or as a private photographer (for weddings and such), or as a fine art photographer (like Ansel Adams).

  • Potter/Ceramicist - a person who creates hand built pottery.  Sometimes considered a craftsman instead of an artist.

  • Sculptor - a person who creates 3D artwork 

WOW!  That is a long list, but it is not complete!  Although there are many more art jobs out there, this list should be enough for you to get your pin.  Good luck!

Friday, May 14, 2010


Harvest Elementary
CALL FOR ENTRIES
Annual End of Year Art Show


Hey all you Harvest Artists!  It is time for the end of year arts celebration!  Look through your artworks, or get creative and make something new, and bring it to school to show off your talent!


When do I bring artwork in?  Right away!  Bring it to your classroom teacher.  He/She will help you to hang it or display it properly.

What should I bring?  Any flat (2 dimensional) artwork NOT in a frame.  Construction paper matting is fine, but not necessary.  Any sculpture that can sit easily on a classroom desk placed in the hall.

Can I use artwork from my art class portfolio?  Of course!

What is the deadline for bringing in artwork?  Friday, May 21st.

Who can participate?   ALL HARVEST STUDENTS!

Will I get my artwork back?  Yes!

When is the Art Show?  The art show will be held on Friday, May 21st, from 5:30 pm until 7:00 pm.  Then at 7, we can all head down to the auditorium to watch the choir and orchestra concerts!


So, what are you waiting for!  Bring your artwork in and show the world what it means to be a Harvest Artist!

Thursday, May 13, 2010

The Portrait of My Son


Here is a collage showing the progression of the painting I did of my son. It is done with the very same oil pastels and techniques that the 6th grade students used. I hope to have images of their portraits posted soon! Looking closely, you can see that this technique is a lot like the old 'paint by numbers' paint sets where you simply filled in the shapes with the correct color. The trick is in deciding which colors (or values) should go in each space. We painted these portraits monochromatically to try to make those decisions on values/colors easier for the students.

The final painting is 16"X20" in oil pastel on gray pastel paper. He would probably like to have it titled "My Avatar", or "Smurf", but I named this painting "My Beautiful Blue Boy". Sorry, son. I know boys don't like to be called "beautiful", but you are beautiful to me.

Posted by Picasa

Mrs. Beck's class - Color Harmonies paintings


Posted by Picasa

Thursday, May 6, 2010

Pure/Modified Contour

Sixth graders ... Homework will be due next Monday!  If you were absent the day this homework was assigned, read the rest of this post to learn what you are to do.

The sixth grade homework this week is to try out a training practice to help improve drawing skills.  I call this a training tool, because it is not something an artist would do all by itself, but is good for improving skills.  Think of it like all the exercises a sports team does during practice, or the exercises a ballerina does at the barre.  Running 'ladders' in practice is not the same as playing in a game, but it helps an athlete with speed and quick reflexes.  Plies done at the barre aren't done on stage, but they are neccessary for training technique into muscles.

So.  This training tool is called 'Pure Contour' and 'Modified Contour' drawing.

First of all, what is a contour?

In art, a contour line is a line that represents the surface of an object.  Some contour lines show the edges of objects.  Others show how it curves or bends.  In this assignment, contour lines should represent the edges of every detail of the object being drawn.

A 'Pure Contour' drawing is made by placing your pencil on the paper, then covering it with another paper so you cannot see what you are doing on the paper.

That's right!  You are not supposed to look at your paper AT ALL for this part of the assignment.  Instead, spend every moment looking VERY closely at all the details on the object.  Draw every little detail!

Once you are sure you have drawn everything you can possibly see, slide your hand out from under the top paper; but DON'T PEEK at what you have done!  Not yet!

Now it is time to make a 'Modified Contour' drawing.  Draw the same object a second time on the top paper.  This time, though, you are allowed to "peek" at your drawing on the paper from time to time to make sure the pencil is in the right place.  Remember, though, that you should still spend MOST of your time looking at the object being drawn... not your paper.

After you have finished your 'Modified Contour' drawing, you can lift up the top sheet of paper.  See how goofy the 'Pure Contour' drawing looks?  Go ahead and laugh at it, I always do!  It is not supposed to look good.  It is supposed to help you see all the details you usually miss or skip over in your drawings.

And there you have it.  Two drawings of the same object are due next Monday.  One of the drawings should be done in 'Pure Contour' style, and the other in 'Modified Contour' style.

Monday, May 3, 2010

"Self Portrait" Teacher Example

Last year when the sixth grade made their self portraits, I chose to do a picture of my daughter along side them, so they could see me doing the same thing I assigned to them.

This year, I decided to to a picture of my son!

You can see a photo of my son in the top image. Notice that I used a pen to outline all contours... even where value changes occur! And, yes the photo is upside-down on purpose!

In the bottom photo, you can see that I am transferring the image one grid at a time onto a large gray paper that is taped to the front board in the classroom. You can't tell because both photo files are the same size on the web page, but the drawing in the bottom photo is actually twice the size of the original in the upper photo.


Posted by Picasa

Best Student Examples of One Point Perspective


Posted by Picasa

Best Student Examples of Two Point Perspective


Posted by Picasa